
Vision boards are a beautiful and effective way to visualize your goals and make your resolutions display-worthy! Visualizing your goals, and keeping them visible at all times will make sure you are keeping what you want to achieve at the very front of your mind. This will make you more likely to achieve what you envisioned for the year.
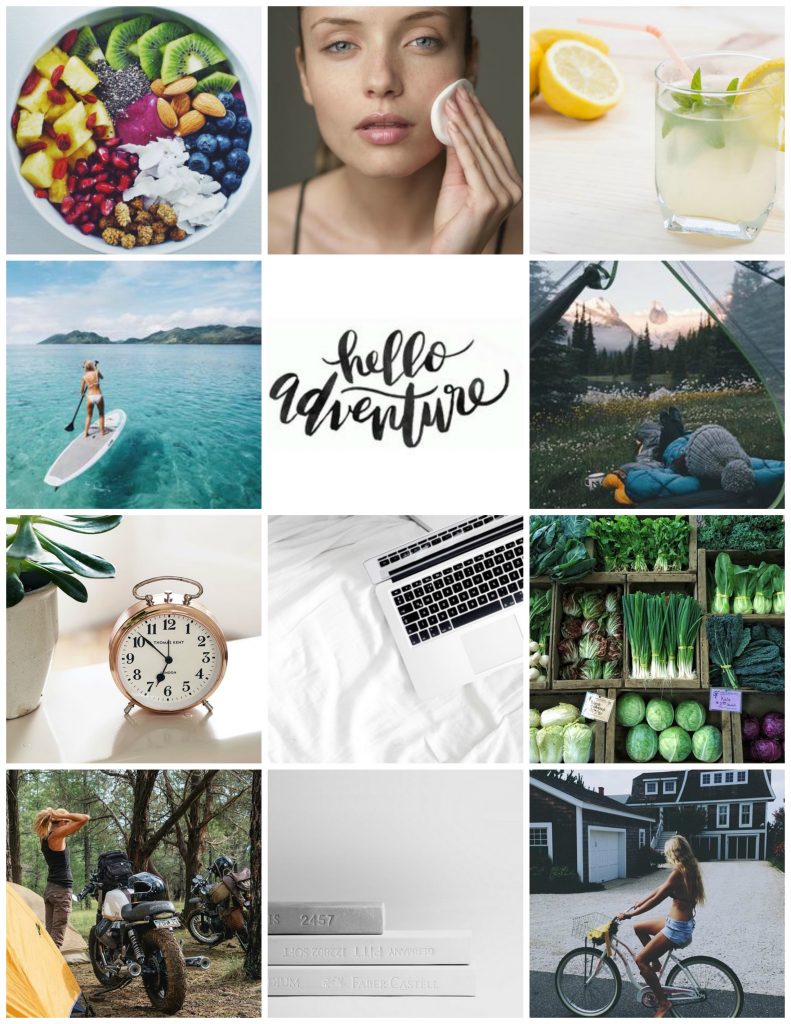
Vision boards, also known as dream boards, are a collection of images that represent the different things you want to achieve and do in a certain period of time. Think of a vision board as a collection of pictures that represents the vibe, mood, and look of your ideal year or season. That’s why you may have also heard them referred to as mood boards.
Related Articles:
- How to Make a Vision Board That Actually Works
- How to Create an Eye-Catching Vision Board in Canva
- Quick Read on Creating a Vision Board + My 2018 Vision Board
- My Goals and Dream Board for 2017 Explained
My Process
The way I like to set up my vision boards is to come up with my goals for the year and then collect several photos that embody the feeling or outcome of those goals. I also make a list of things I want to do, experiences I want to have, places I want to see, etc. These are mixed in with my goals to create a holistic vision of the year ahead.
I tend to create my vision boards in December of each year in order to prepare a fresh vision of the new year to come. However, you could create a vision board at any time in the year, whenever you need a fresh start, or perhaps quarterly to focus in on your seasonal or shorter-term goals.
Using PicMonkey to Create a Beautiful Vision Board
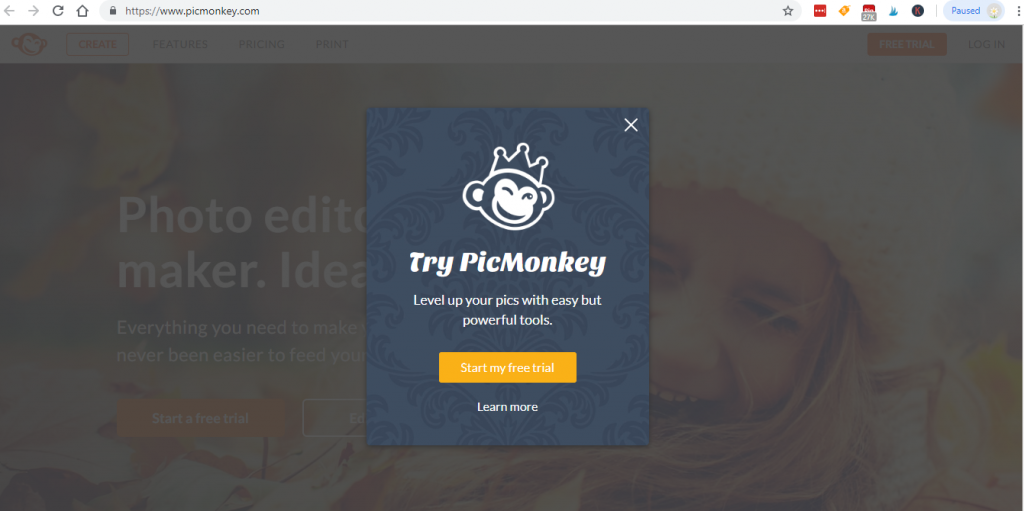
STEP 1: Go to www.picmonkey.com and start a free trial.
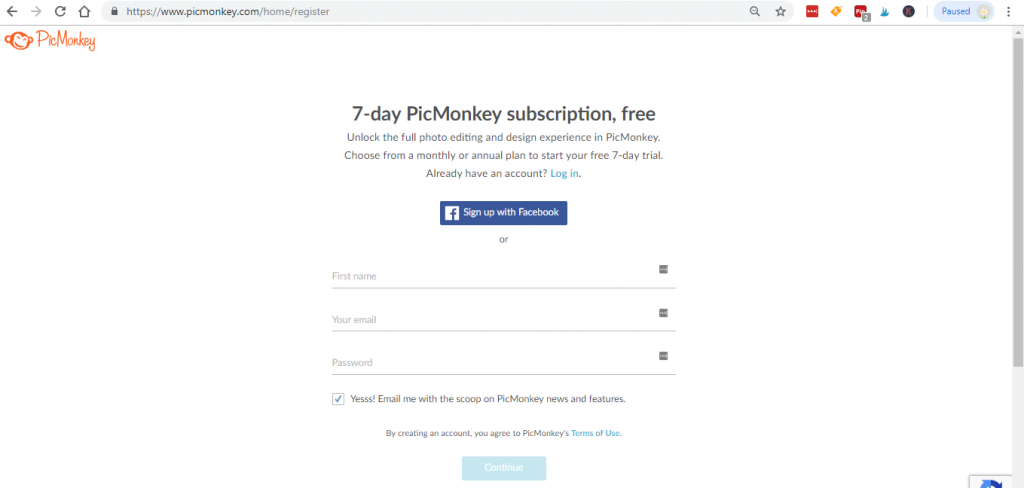
STEP 2: You’ll be redirected to the register page. You can use your facebook or your email address to sign up.
STEP 3: Choose your plan.
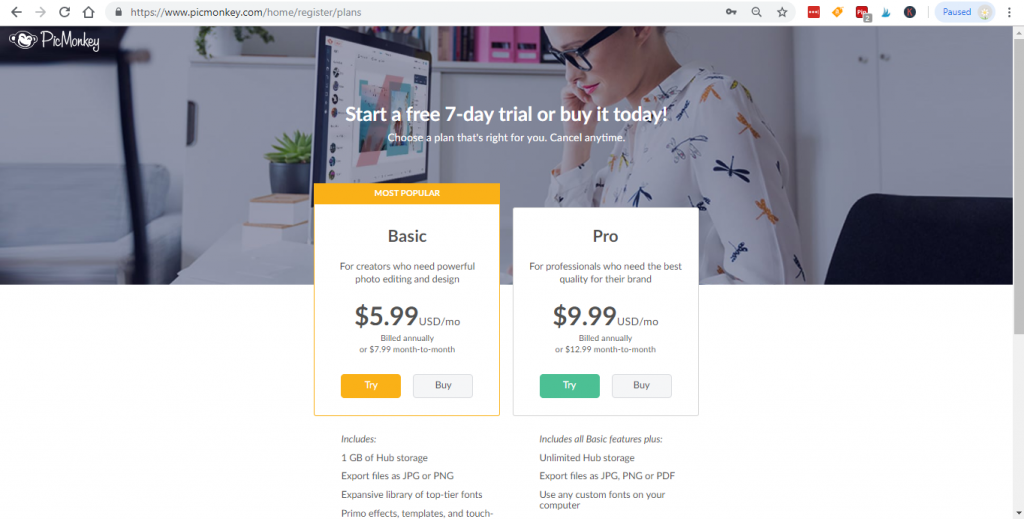
Below are the plan details if you are interested in purchasing a subscription.

You will have to use paypal or a credit card to get the free trial. Make sure you put it on your calendar to cancel your subscription if you don’t want to be automatically charged for a subscription at the end of the free trial.
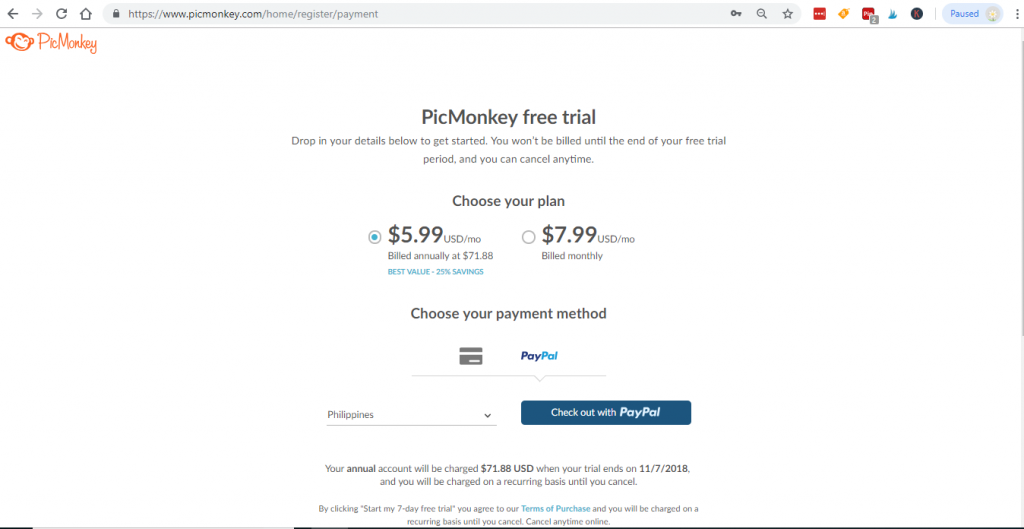
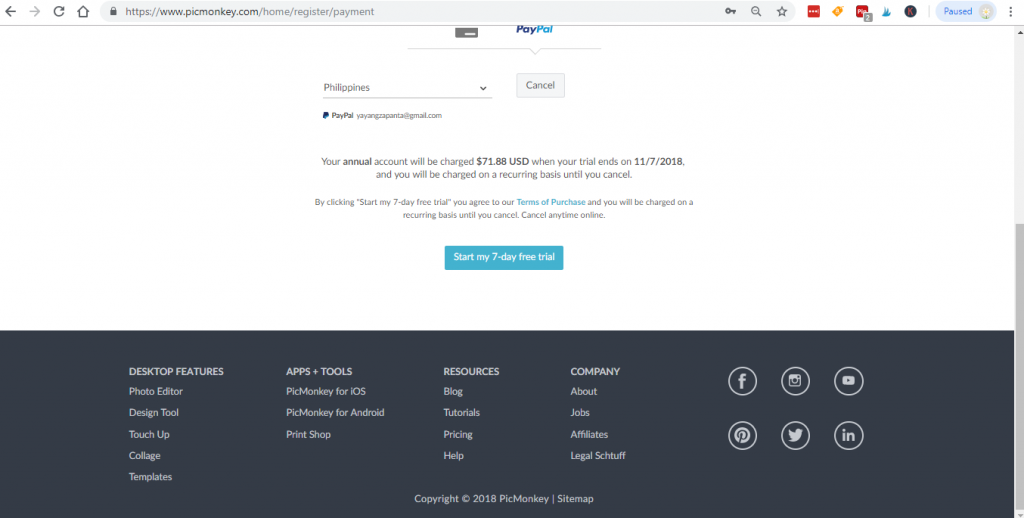
STEP 4: Choose payment method.
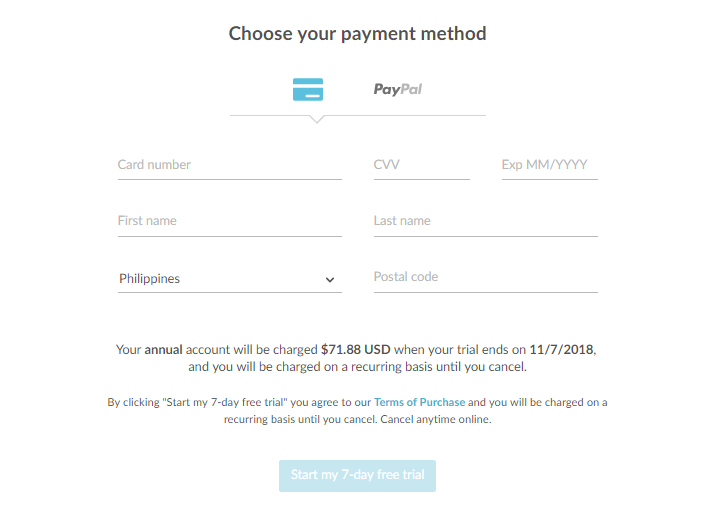
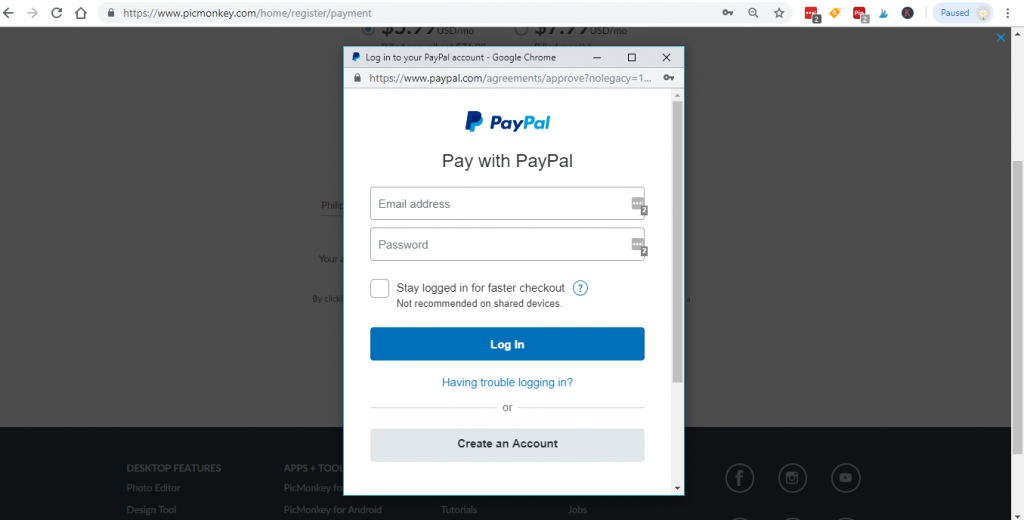
Click “Start my 7-day free trial.”

[the_ad id=”1440″]
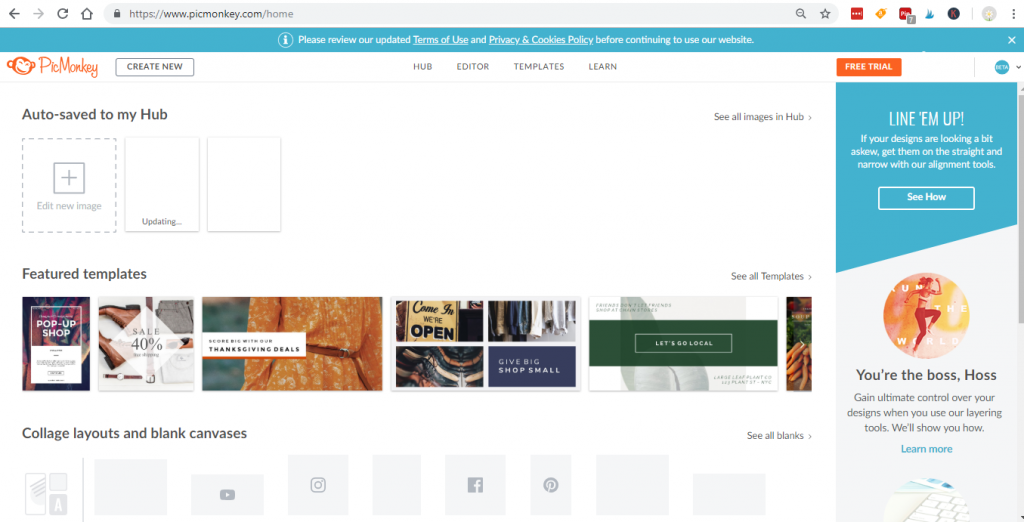
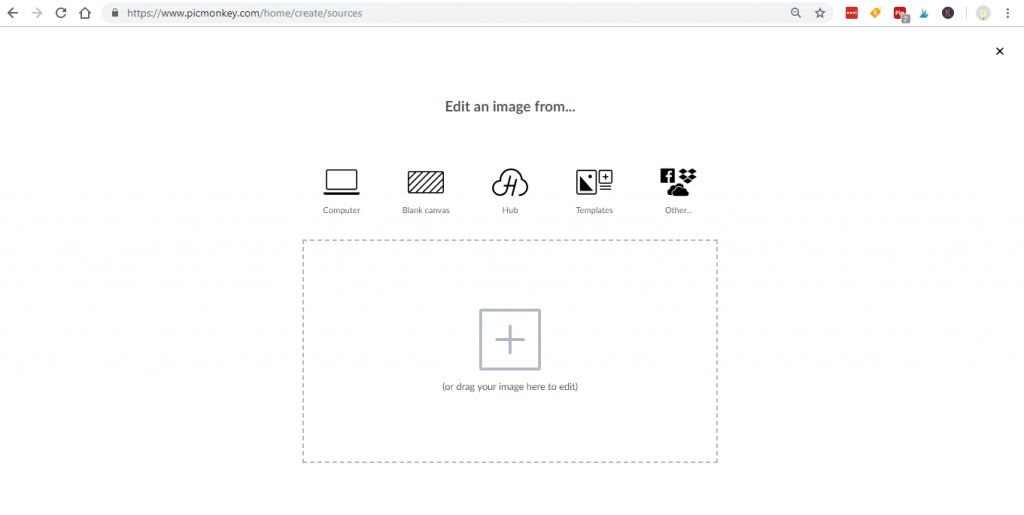
STEP 5: Click “Okay” and you will be redirected to this page. Click “Edit new image.”
Choose “Blank canvas.”
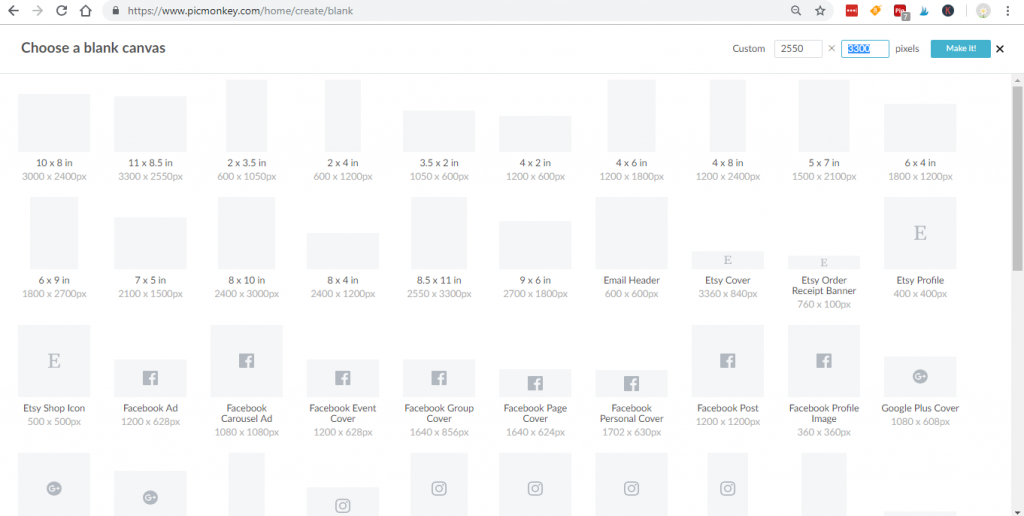
STEP 6: An 8.5 x 11″ sheet of paper is 2550 by 3300 pixels, click “Make it.”
I use this size because I use my vision board as the cover of my planning binder
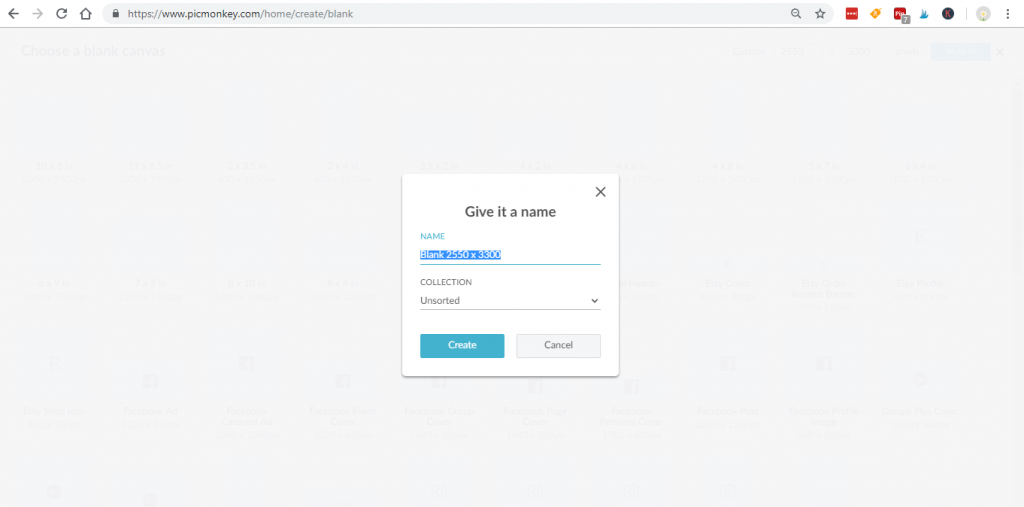
You can rename the project, then click create.
The design page looks like this:
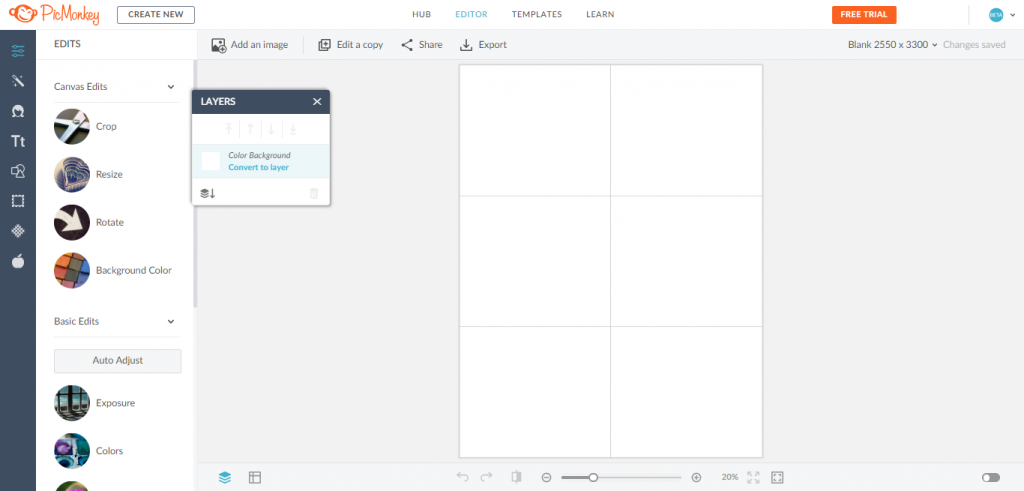
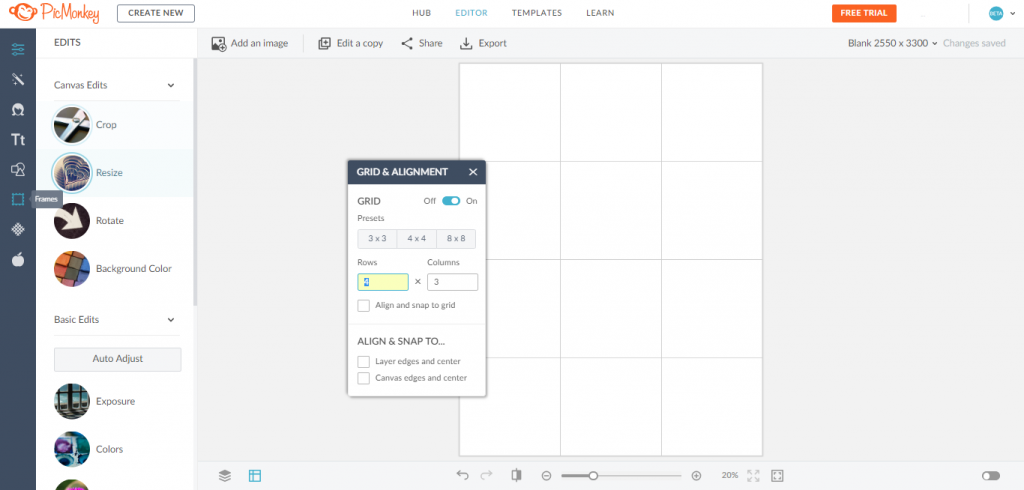
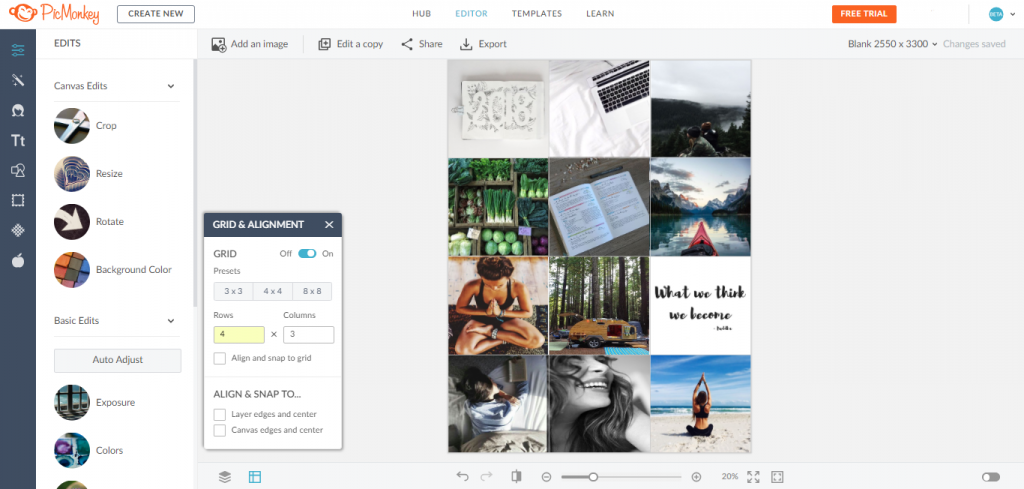
STEP 7: Click the symbol for “Grid and Alignment” at the bottom of the page.


STEP 8: Edit your preferred rows and columns. I use a 12 grid layout (4 rows and 3 columns) because on an 8.5 x 11″ sheet of paper the photos will look relatively square, which is visually pleasing.
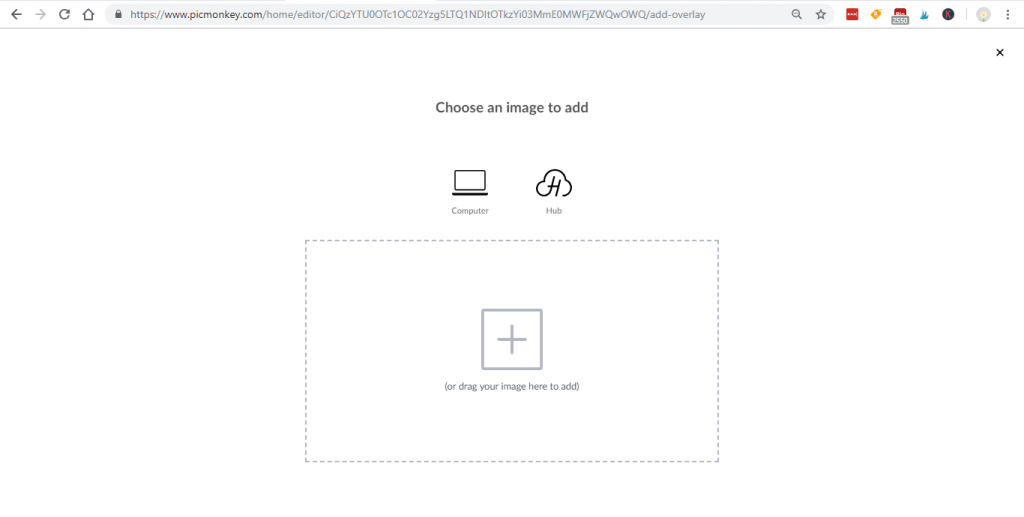
STEP 9: Click “Add an image” in the top left, on the toolbar. Upload your vision board images here.
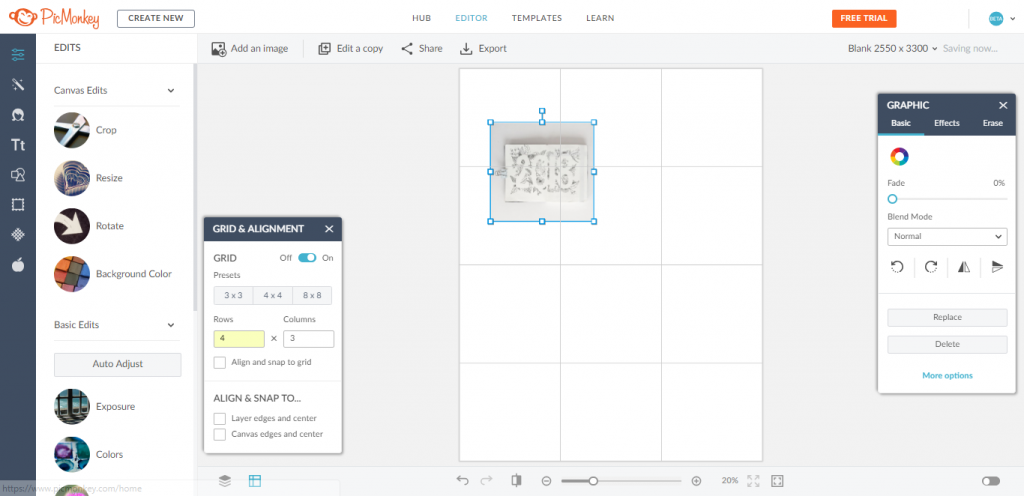
STEP 10: Drag the images to the grid. You can drag and drop to re-arrange them. Be sure to play with the different colors to try to achieve a balanced look.
STEP 11: Click Export to save the image.
STEP 12: Print and display the gorgeous dream board you just created!
![]()
It’s amazing that those 10 simple steps can result in such a beautiful representation of your dreams for the year! Now the only thing left to do is decide where to display your vision board. Remember, you’re not limited to putting it in just one place! I actually print 3 copies and distribute them throughout my environments for extra goal-reminding power!
I print a copy for the front of my planning binder


If you prefer to use PicMonkey to create your dream board, please see my How to Create an Eye-Catching Vision Board in Canva tutorial here.
Need more help with goal setting?
Read these Related Articles About Goal Setting:
- Conquer Your Goals: How to Set SMART Goals That Will Help You Get Shit Done
- 6 SMART Goal Templates to Make Goal Setting Insanely Easy (and Effective!)
- SMART Financial Goals You Need to Set Right Now
Your Turn:
Where will you display your brand new vision board?
WANT TO REMEMBER THIS? SAVE THIS VISION BOARD IDEA TO YOUR FAVORITE DREAM BOARD PINTEREST BOARD!
[…] How to Create a Gorgeous Vision Board using PicMonkey […]
[…] PicMonkey Vision Board Tutorial […]
[…] How to Create a Gorgeous Vision Board Using PicMonkey […]
[…] How to Create a Gorgeous Vision Board Using PicMonkey […]
[…] PicMonkey Vision Board Tutorial […]
[…] How to Create a Gorgeous Vision Board Using PicMonkey […]
[…] How to Create a Gorgeous Vision Board Using PicMonkey […]
[…] If you prefer to use PicMonkey to create your dream board, please see my How to Create a Gorgeous Vision Board Using PicMonkey tutorial here. […]